
Many players of Lunacraft tend to like capturing Mobs as pets or for experiments, but unfortunatly it can be quite difficult to caputure, move, and seperate Mobs from one another. This article shows some methods about how to "wrangle" Mobs.
Space Giraffe Wrangling[]
The Space Giraffe is one one of the easiest to capture but second most time consuming mobs to move in Creative Mode.
Capturing[]
To capture Space Giraffes, create a two block wall with an inside corner in the space giraffe's path, wait for the giraffe to get stuck in the corner, then box it in. This is a two block high temperary holding pen. As multiple space giraffes are often found in one place, go collect some more.
Holding[]
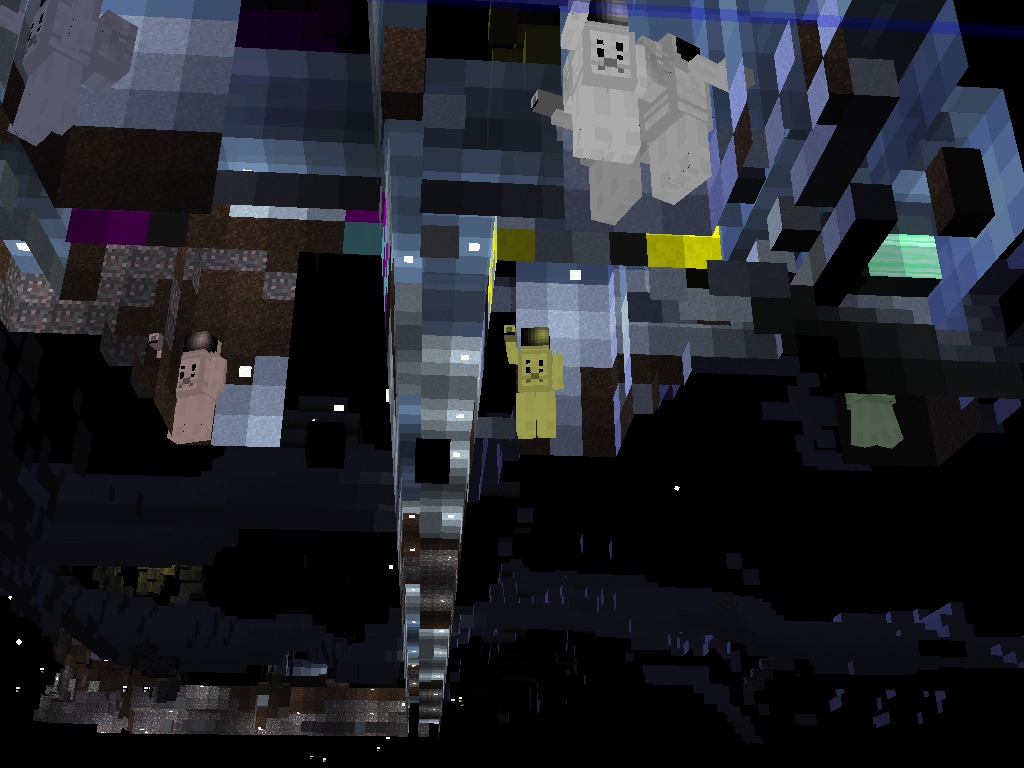
The Giraffe will be blocked by either a two-block high wall at its feet, or by two blocks at the "shoulders". In either case you need two blocks high (not just one) because the Space Giraffe can jump up one block. These two photos illustrate this:
This wall works because the two blocks above the "doorways" block the shoulders:
And this wall works because it blocks the feet:

Moving[]
To move Space Giraffes, create two walls, two blocks high, one bock apart (an alternative method is to use trenches) connecting the space giraffe's temporary holding pen to desired location, remove the wall blocking the connector and the pen, push the space giraffe down the conector, and when you reach the desired location, close of the connector.
Green Mob Wrangling[]
Green Mobs are the hardest of all Mobs to capture, as they are small, fast, and tend to jump aroung a lot. If you try to box them in with an open topped box, they will quickly jump out (they can jump pretty high), and if you try to trap it in a 1x1x1 space, as they require a two block high space, they tend to escape. Also, you may encounter disapearing Green Mob syndrome in which a Green Mob is forced into a wall and disapears without a trace.
Capturing[]
This is a quite a thing of luck. First you must build a three block high wall and wait for a Green Mobs to walk into it (it helps to be close to the mob when this happens). Then, very quickly place blocks to trap it in a 1x1x2 pen with a lid.
Moving[]
Once you have a Green Mob trapped, you can start moving it, by first making a Giraffe transport conector, then closing it off, making a roof which is two blocks off the ground; this is a transport hallway. You then locate the trapped green mob and remove the back wall. While doing this it helps to be ready to push against the mob to prevent escape. Next, remove the wall seperating the pen and the hallway. Push the mob and slow down aproching corners to prevent disapearing green mob syndrom, and try to prevent it jumping through the roof (yes, that happens).
Brown Mob Wrangling[]
This is the easiest and quickest method to transport the Brown Mobs (this also works for Astronauts).
Transporting and Capturing[]
1. Make a four block tower and get onto it.
2. Shoot the mob (it now tries to move towards you and explode, but will not explode because you're on the tower).
3. Make a new 4 block tower and jump (fly) to it.
4. Repeat step 3 until you reach the desired location.
5. Create two horizontal spurs at the base of the tower, one 4 blocks long the other, 1 block long; this is enough to capture the mob.
6. Make a box around the mob to trap it permanently.
7. Travel one superblock away to disarm the brown mob.
It is now safe to do whatever you want with it.
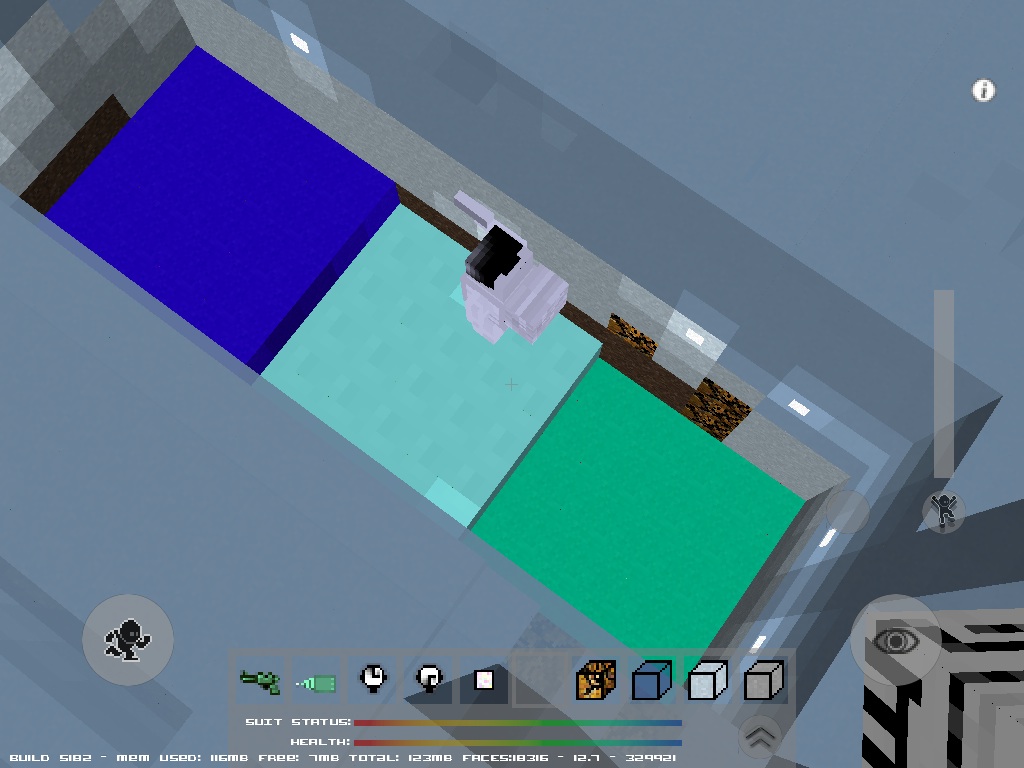
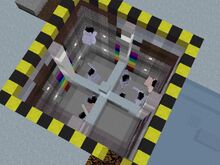
Blue I Wrangling[]

trapped Blue I trying to jump out
If you are lucky enough to see the rare Blue I mob, It can be captured. After sighting the Blue I dig a pit eight blocks deep in the ground. (This is much easier on level ground). the pit can be as large as you want and you can make it deeper if you have time. When your pit is finished go close to the mob and get it to chase you. If you are in creative mode, you may have to shoot it to get it to chase you. Be careful though as shooting it just once with a v1 slugpistol can sometimes kill it instantly.
Once you have the Blue I chasing you fly or run back towards your hole. This should be done with the v3 jetpack and the Energy Orb as the blue moves very fast when it has sighted you. If you successfully get the blue to fall into the hole, you are safe as long as you dont stand right at the edge. If your hole is not 8 blocks deep, it is dangerous to be on the ground level near the blue. Blues can jump up to five or six blocks high.
There is no safe way to transport the blue as holes deep enough cannot be dug except standing very near the cage edge on ground level. There is also no way to expand the cage once the blue has fallen inside.
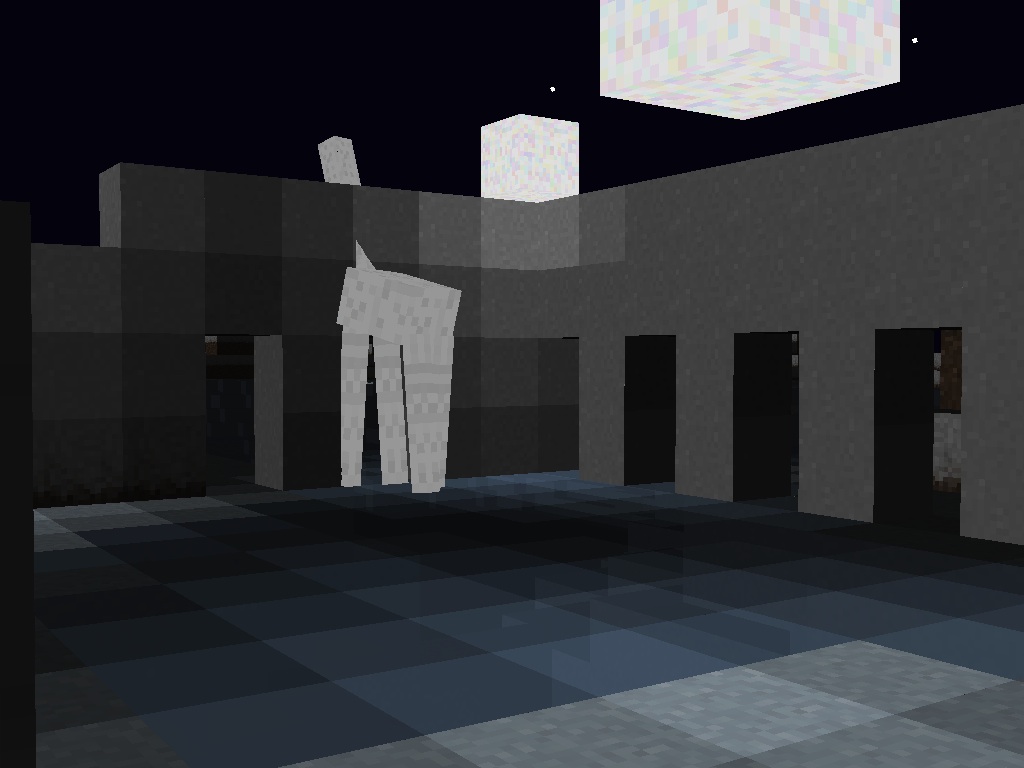
Astronaut Wrangling[]
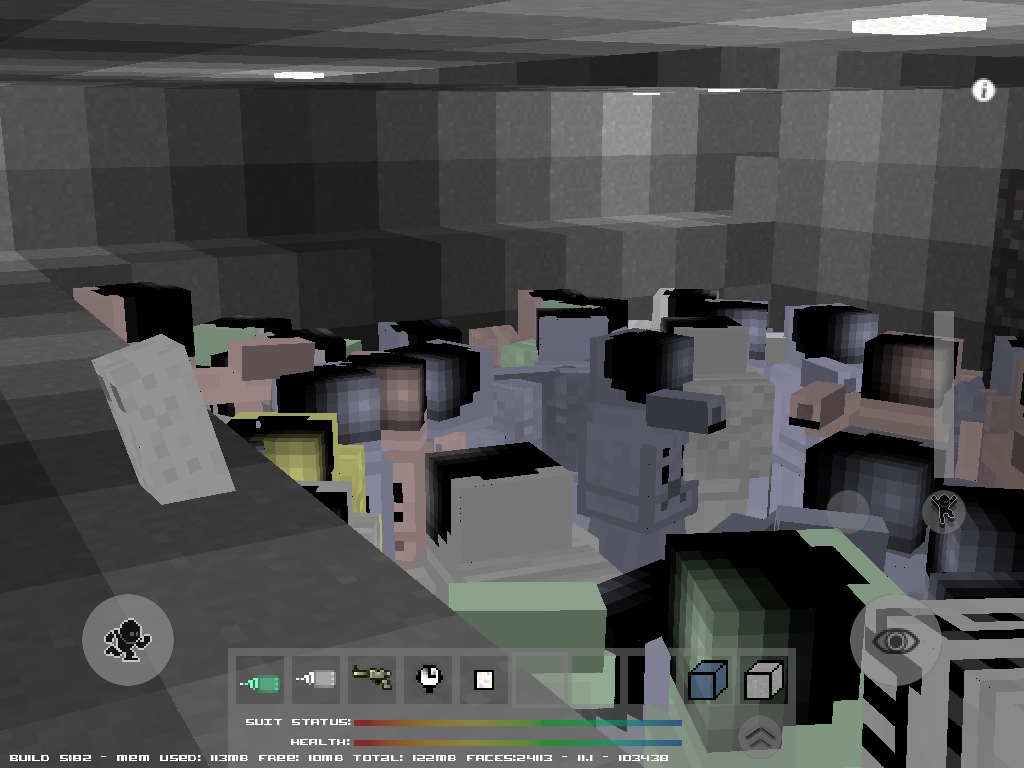
This shows a detailed way of capturing Astronauts. Mostly from the Blog post Mrob27's Astronaut Wrangling.
The Basic Pit[]
Any open pit deeper than about 6 blocks deep and with no tunnel exits will hold all 5 types of Astronauts almost indefinitely.

Although Astronauts of the different colors often fight one another, they also can peacefully coexist with one another. It seems that about half of the Astronauts that enter a pit like this will be shot by another Astronaut shortly after entering the pit. After a while the shooting stops and any remaining Astronauts then remain indefinitely.
Pits like this also catch most of the other types of Mobs.
The Astronauts cocktail party (giraffes drink for free).
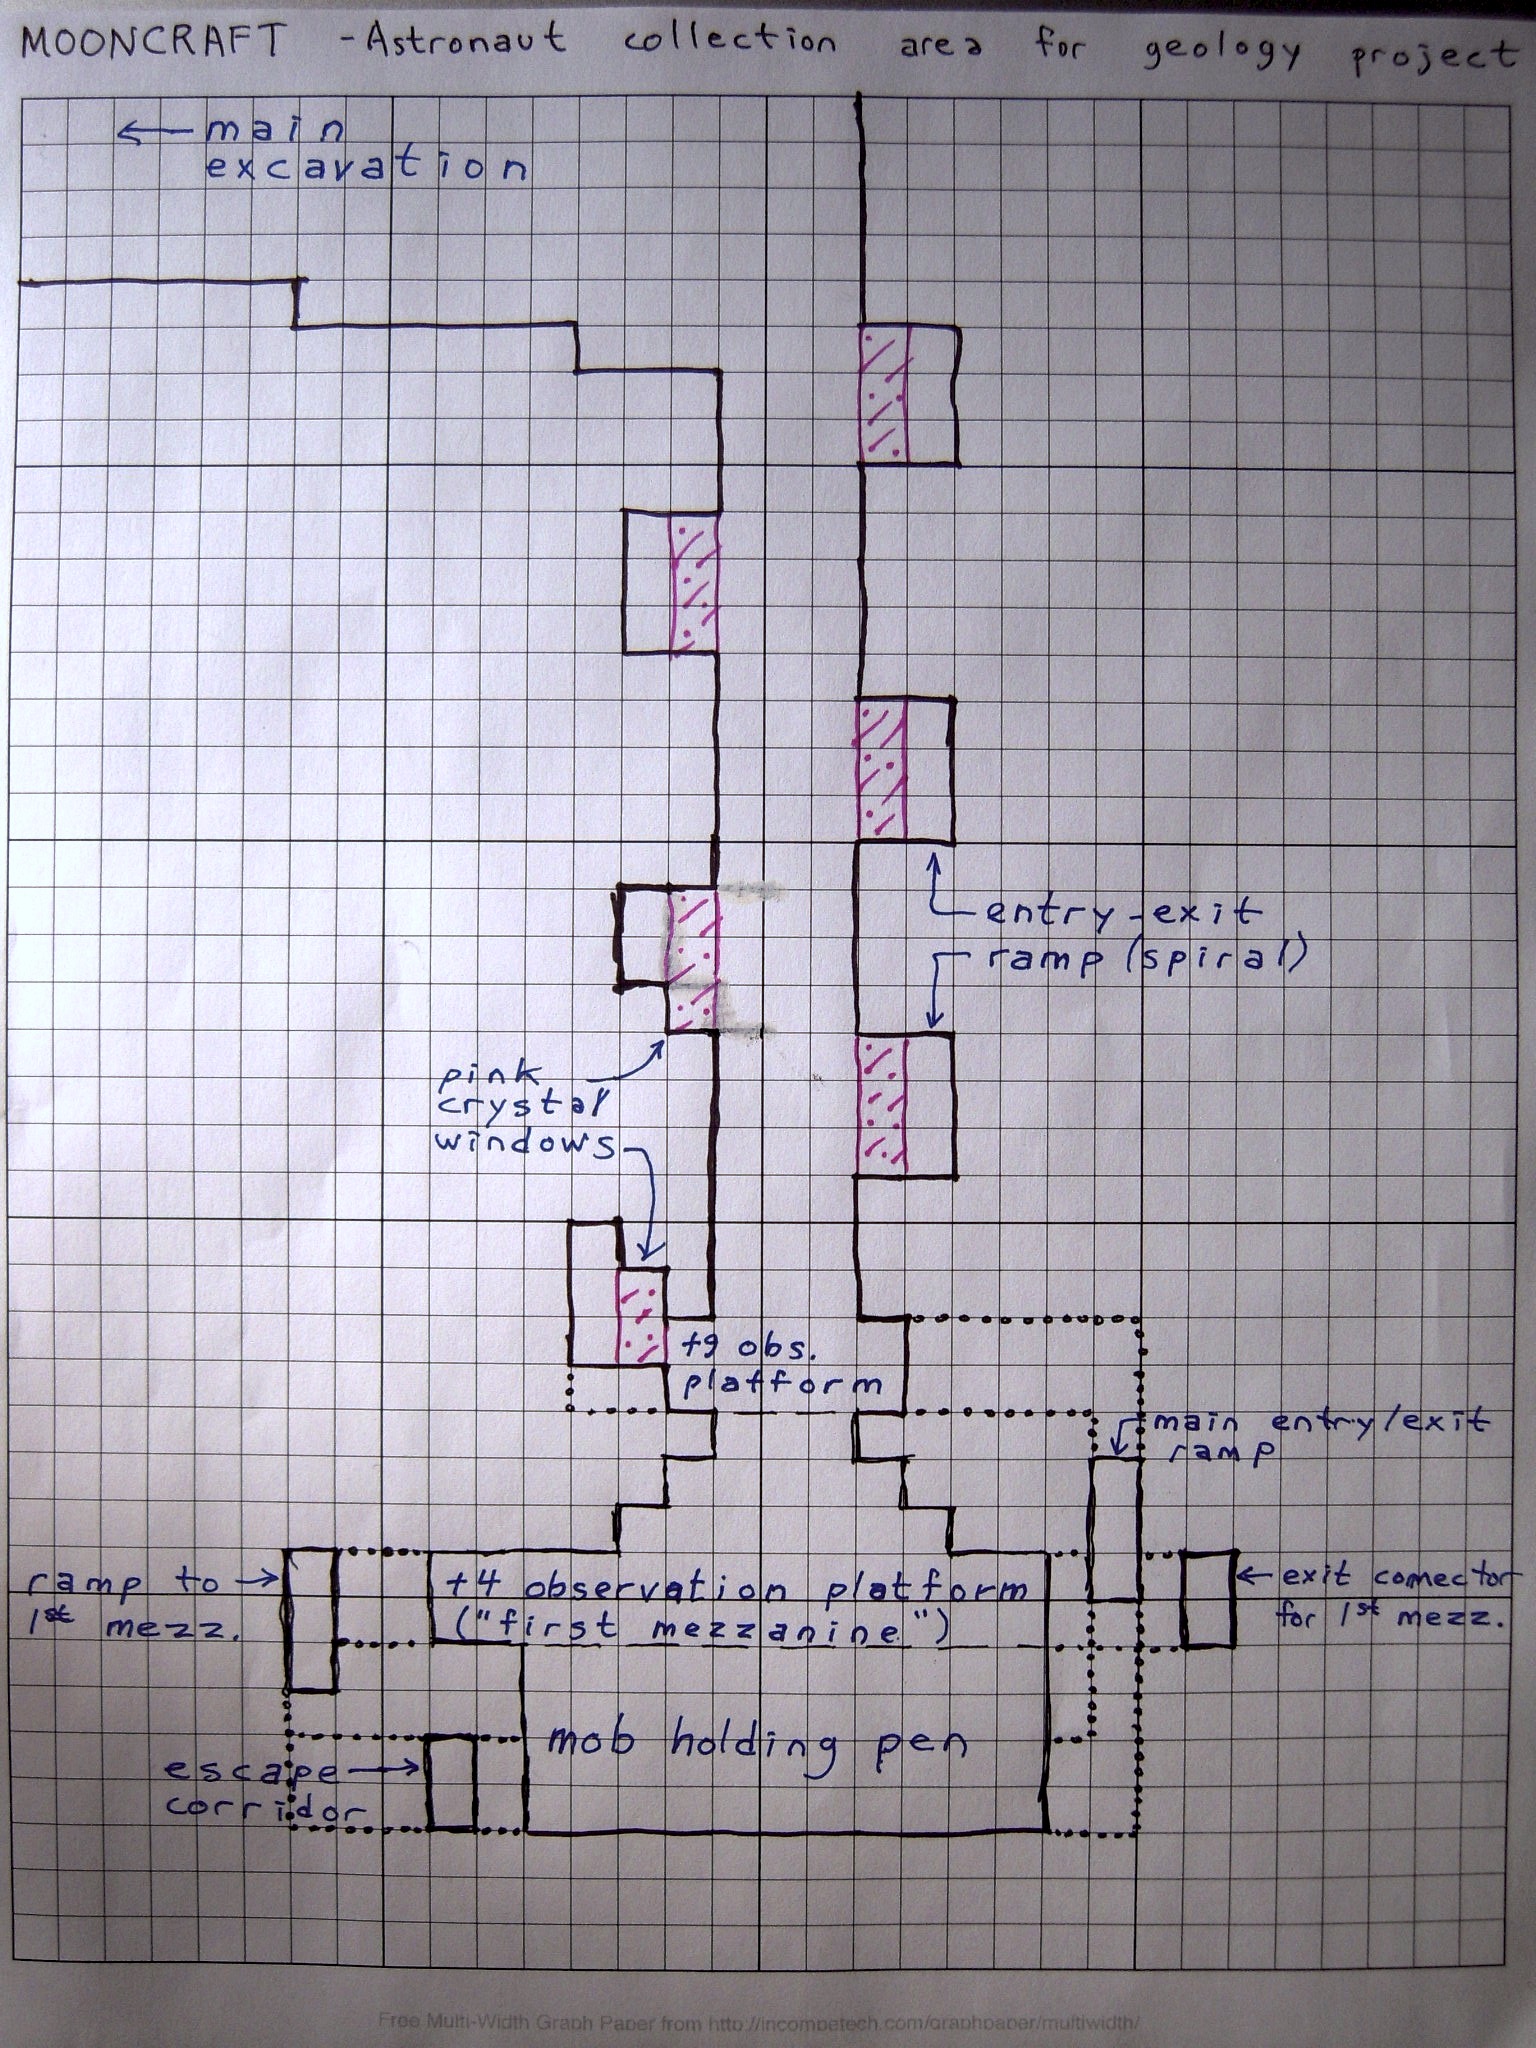
Cross-section of the holding pen, with observation levels, connecting corridors and entry-exit ramps
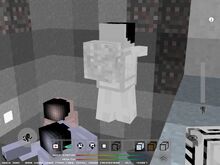
Astronaut Test Chambers[]
Configure the walls as desired (different block heights, gaps in the bottom, etc), then wait while watching from a high vantage point.
In these tests it is easy to spot Astronauts trying to climb the walls. In the photo, the powder-blue Astronaut near the very top of the photo is climbing the back wall. He has gone up about 3 or 4 blocks. They are usually facing towards the pit and land in the same sector they started in.

Astronauts also seem to jump across the sector barriers (the lower partial-walls) through a similar method of climbing, turning and jumping.
Because they can climb walls this way, just to be safe, make sure all open-air Astronaut pits have a one-block inward overhang at the top of the walls. You can see in the picture part of one astronaut is partly behind the Boron Crystal.
A two-block wall that is 3 blocks above the ground will hold Astronauts indefinitely, unless they have a place to climb up onto from which they can jump over. The 3-block gap under the wall is high enough for the player to walk through, and also seems to give the astronauts no place to hold onto for climbing.
If the wall is a single block high and 3 blocks off the ground, the Astronaut can jump and land right on top of it.
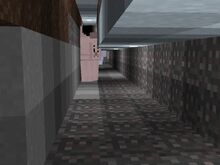
Transfer Corridor[]
Any Astronaut can move freely in a tunnel that is 4 blocks high and one block wide.

An Astronaut in a transfer corridor.
Next to the 4-block-high tunnel you should also make a normal 2-block high tunnel for yourself, two blocks wide as shown in the photo.
This kind of tunnel lets you walk around the Astronaut, or push it in either direction. The Astronaut can only go in the 4-block-high part. If you try to walk in this part (the left side in this photo) you will push the Astronaut (and it might push you back). By pushing you can get the Astronaut to move in the direction you want. If you walk on the other side (the right in the photo) you can pass the astronaut and get on the other side of it.
You can limit the Astronaut's movement by blocking its corridor. You can use a block on the floor and another on top of that (occupying the bottom two of the 4-block tunnel).
Networks of Transfer Corridors[]
In one area have a set of branching 4-block-high tunnels leading to separate holding pits for each color astronaut:
The Transparency cheat provides a unique perspective on an Astronaut sorting and holding system.
Here have a branching network of transfer corridors like the one shown above. The corridors connect several Brown Mob pits to the north (left of the photo) to the color-coded holding pens. The Astronaut corridors (4 blocks high) each have a 2-block high corridor for me, and these cross each other in many places. The Astronauts never go into corridors because they just don't fit.
Just to the south is this Astronaut lair:
- An Astronaut lair that has been partly sealed, holding astronauts ready for sorting.
When I found this lair, all of the astronauts pictured were at the bottom of the deep shaft in the lower-right. I stumbled into the lair while trying to quarry a giraffe, then entered it via the small connecting corridor seen in the upper-right. I sealed off the 3x3 horizontal dead-ends with ice, then brought the astronauts up to the main level by slowly adding blocks of ice to the bottom of the deep shaft, lifting the astronauts up one layer at a time. I am leaving them here until I work out a good way to raise them the rest of the way to my sorting corridors.
One-block Steps[]
The astronaut pictured here is in a pit that has three levels. The dark blue level is one block higher than the center (cyan) level, which is turn is one block higher than the green level.
When the astronaut is on the middle cyan level (as pictured) he can either go up (to the blue) or down (to the green). He turns, moves forward, and jumps, all in a random pattern. In particular he'll jump regardless of whether it's actually appropriate to jump; and when he moves forward and falls down to a lower level he hardly ever turns around to jump back up. Because of these movement patterns, he is much more likely to go down to the green than up to the blue.
Once in the green, the only way he gets back up to the cyan is if he jumps when he is near the edge of the cyan and facing towards it.
Because of this, in any multi-level terrain like this test pit, the astronauts will almost always be in the lowest level. If I watch this astronaut for a long period of time, he will spend:
About 3/4 of the time in the green (lowest) level,
about 3/16 of the time in the cyan (middle) level,
and about 1/16 of the time in the blue (highest) level.
Thus, if you have a pit full of astronauts and want to get most of them to move to one side of the pit, simply mine out the floor of the pit so that part of it is one block deeper. (Or alternately, place blocks to raise part of the floor). After a brief period, 3/4 of the astronauts will be in the lower part.
The Open-Pit Astronaut Trap[]
During the excavation for my Geology article I discovered a great way to capture astronauts. Due to the fact that astronauts move down steps much more easily than they move up, a huge "open-pit mine" shaped hole makes a great passive trap:
- Shortly after digging the pit; the (slightly enlarged) pit an hour or so later
Astronauts are often trapped "in the wild" by similar "open pits" formed by the terrain:
- A naturally occurring "open-pit trap" keeps astronauts occupied
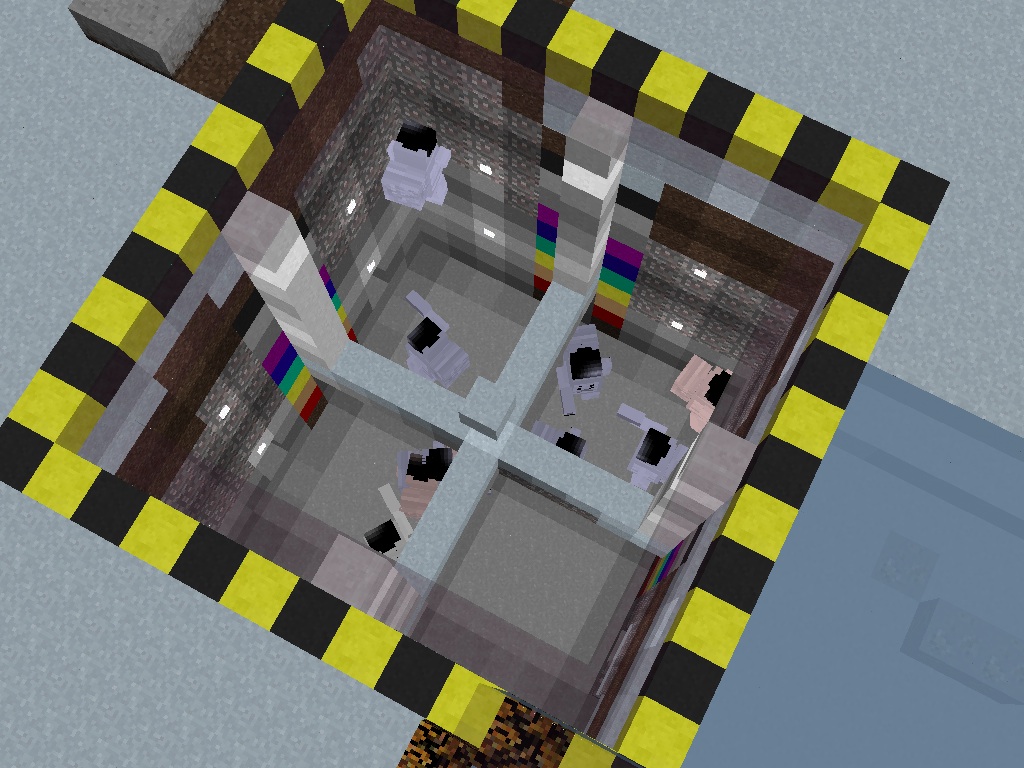
The Stable[]
The corridor and barrier dimensions (4 blocks high and two blocks for a barrier) also apply in rooms of arbitrary size.
This picture shows a "stable" with 5 "stalls" containing one of each of the 5 colors of astronauts. Each pen is 4 blocks high. For my convenience, the floor of each stall is one block lower than the main floor you see here.
After I got 5 astronauts (one of each color) in the stalls, I was able to shuffle the colors around by swapping pairs. For example, I swapped the yellow and white astronauts by temporarily removing the wall separating them, then putting the wall back after they had switched places. Having the floor inside each stall one block lower than "my" floor makes this easier.
Sorting Various Mob Types[]
The sorting of mobs can be done by using height. make three rooms and conect these and the mob room with hallways of three heights of 1, 2, and 4. Close off the tallest two hallways with doors, leave the smallest hallway open and wait for all the brown mobs to go through. Close off this door and open the two block hallway. Wait for the green mobs to go through. Close off the second hallway and open up the last hallway. Wait for the space giraffes to go through and close off this hallway.